Project Description:
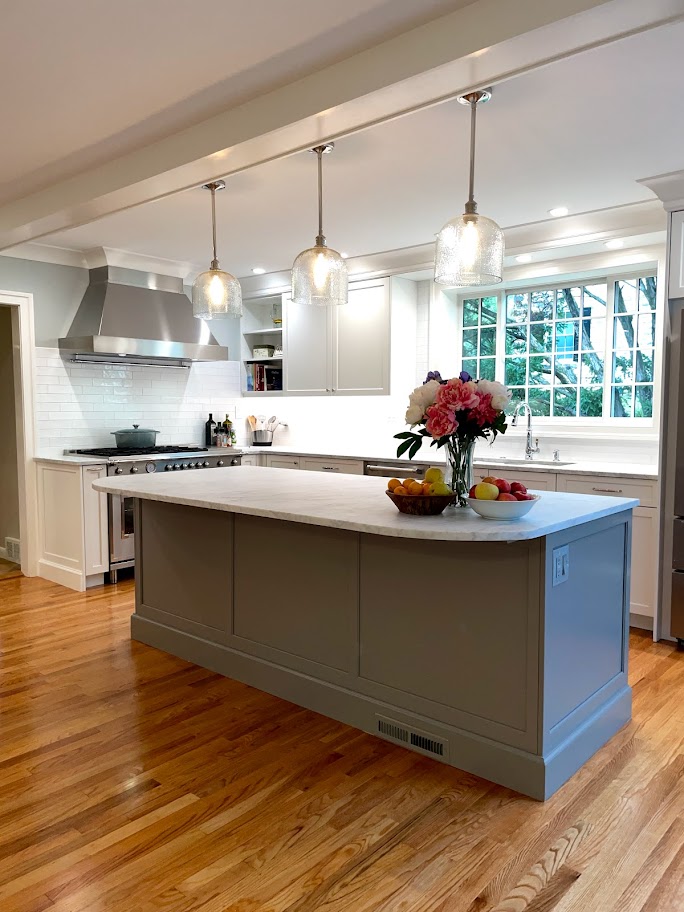
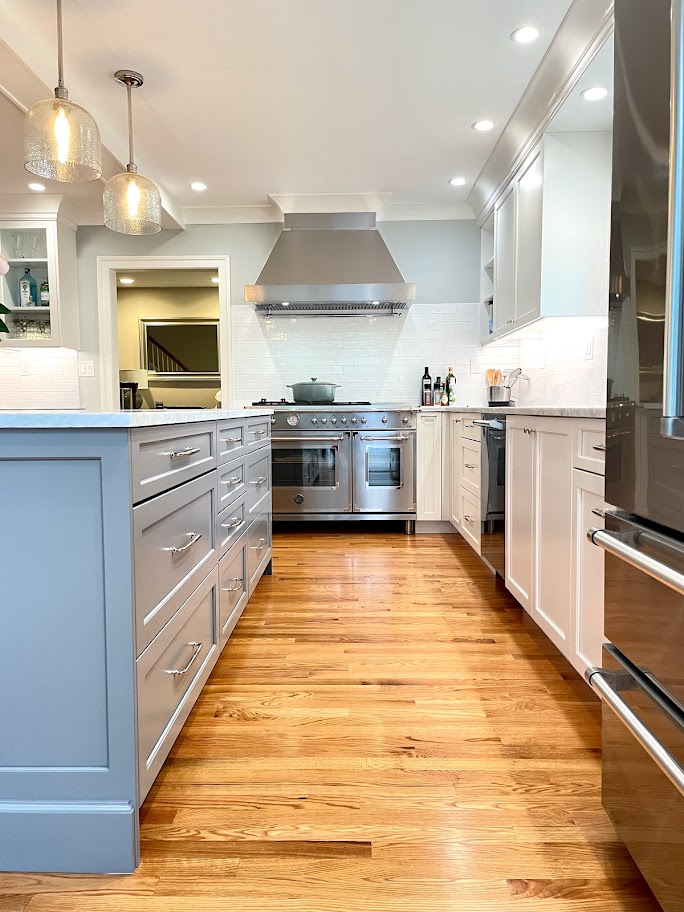
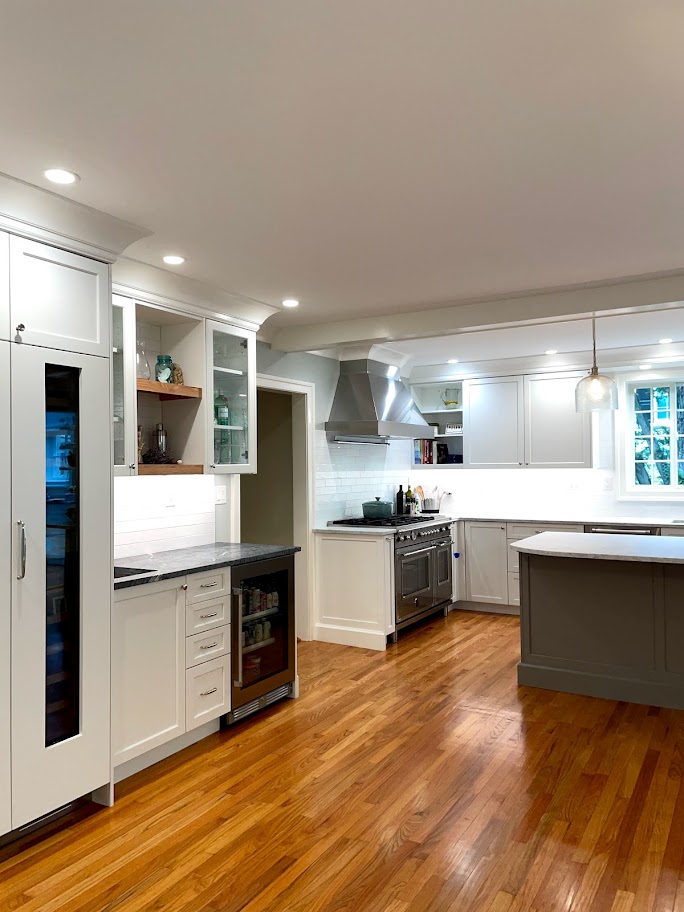
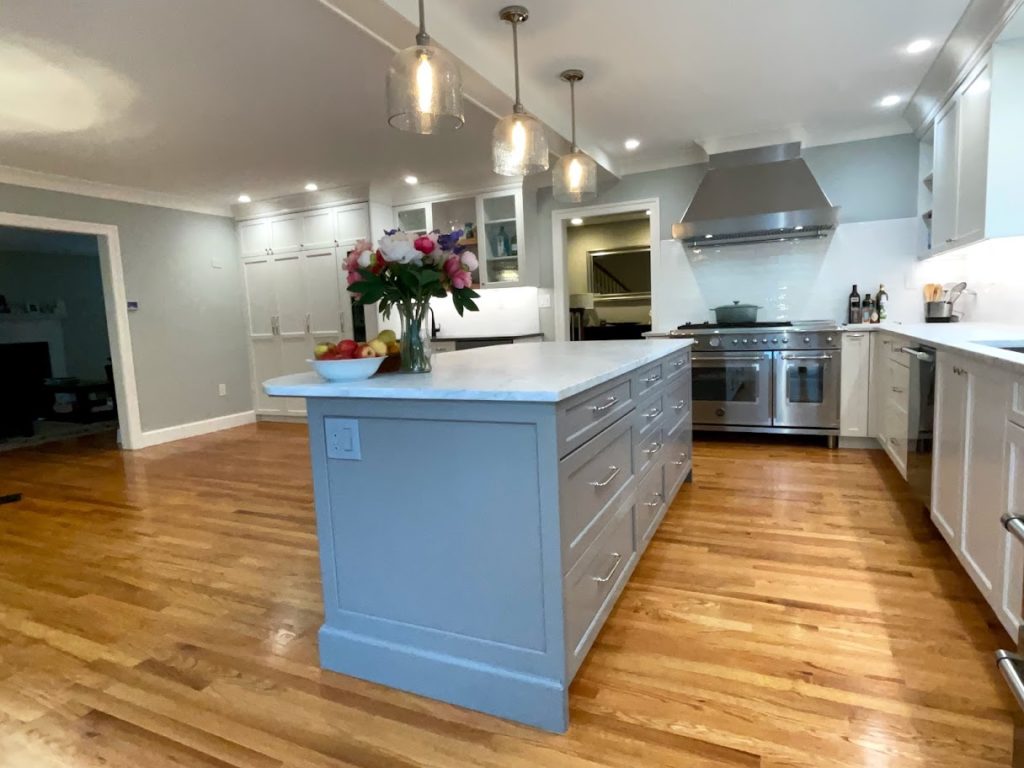
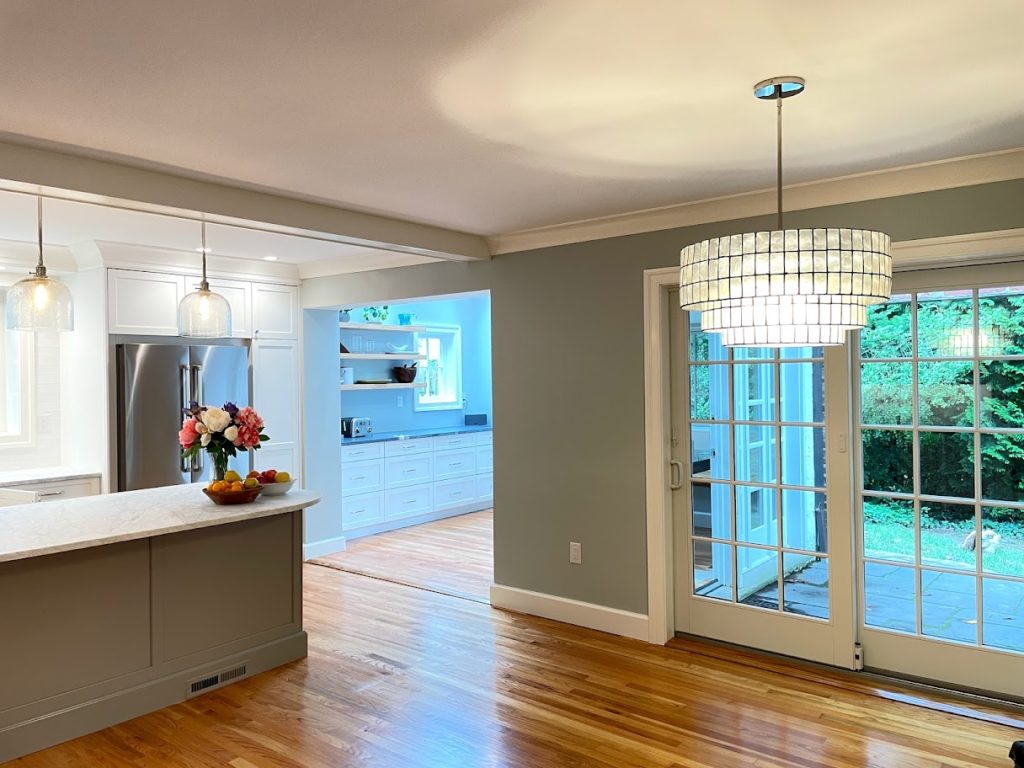
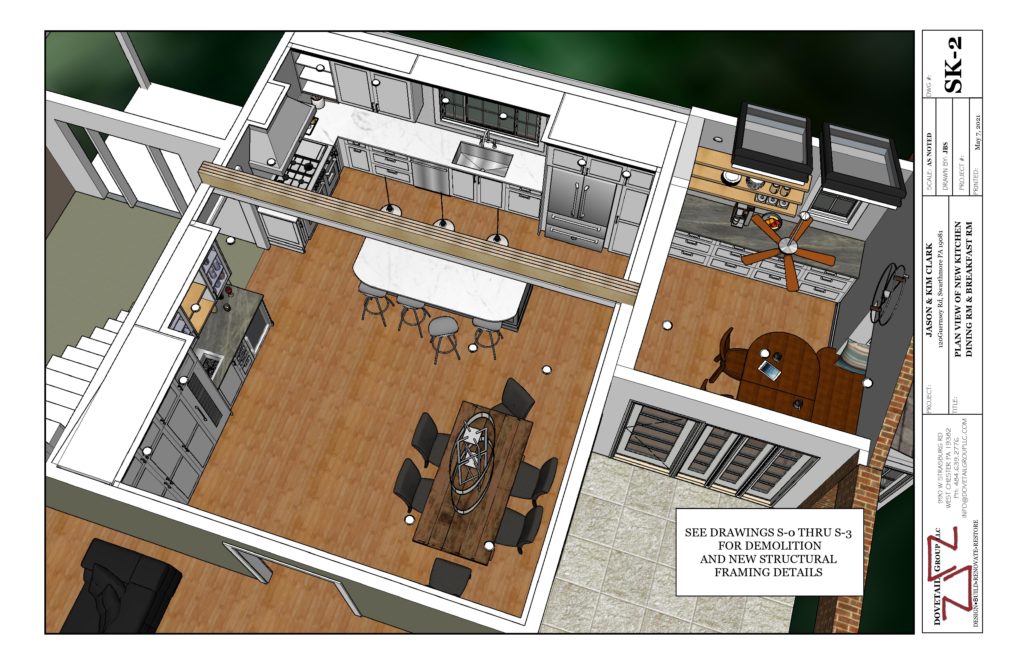
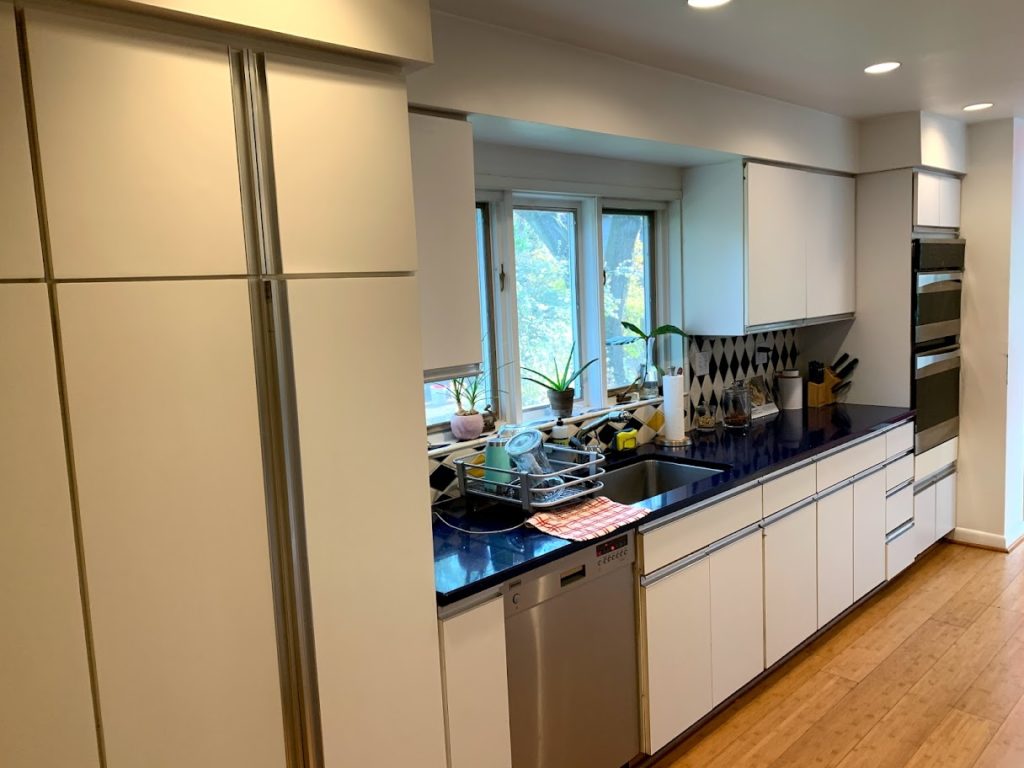
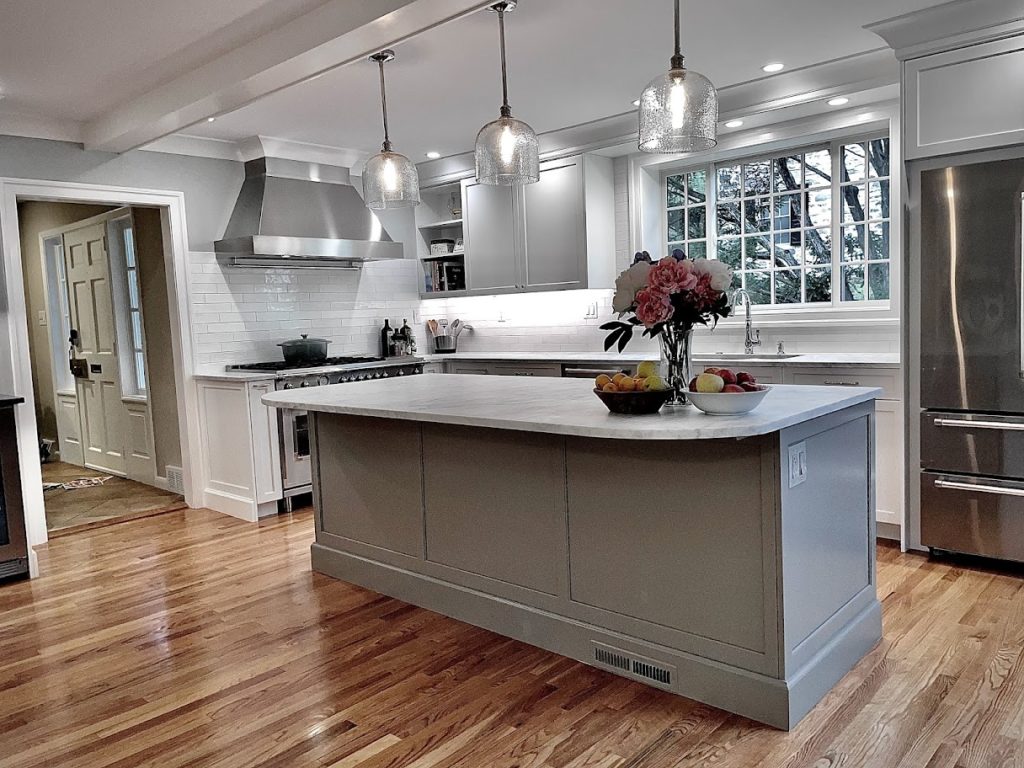
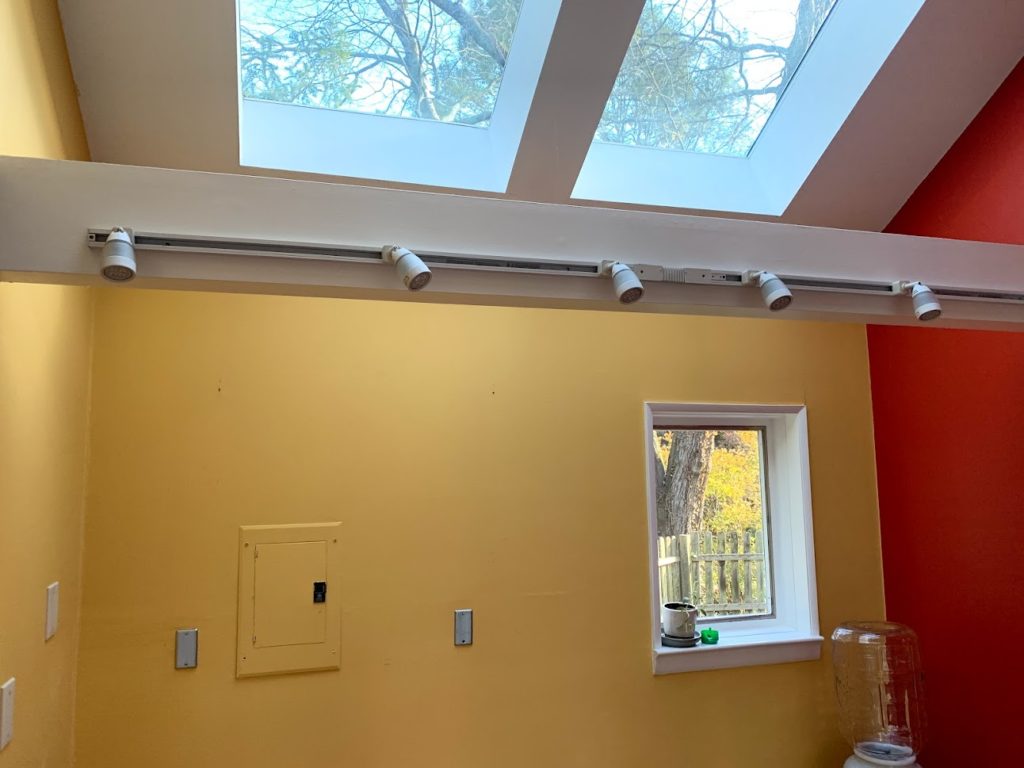
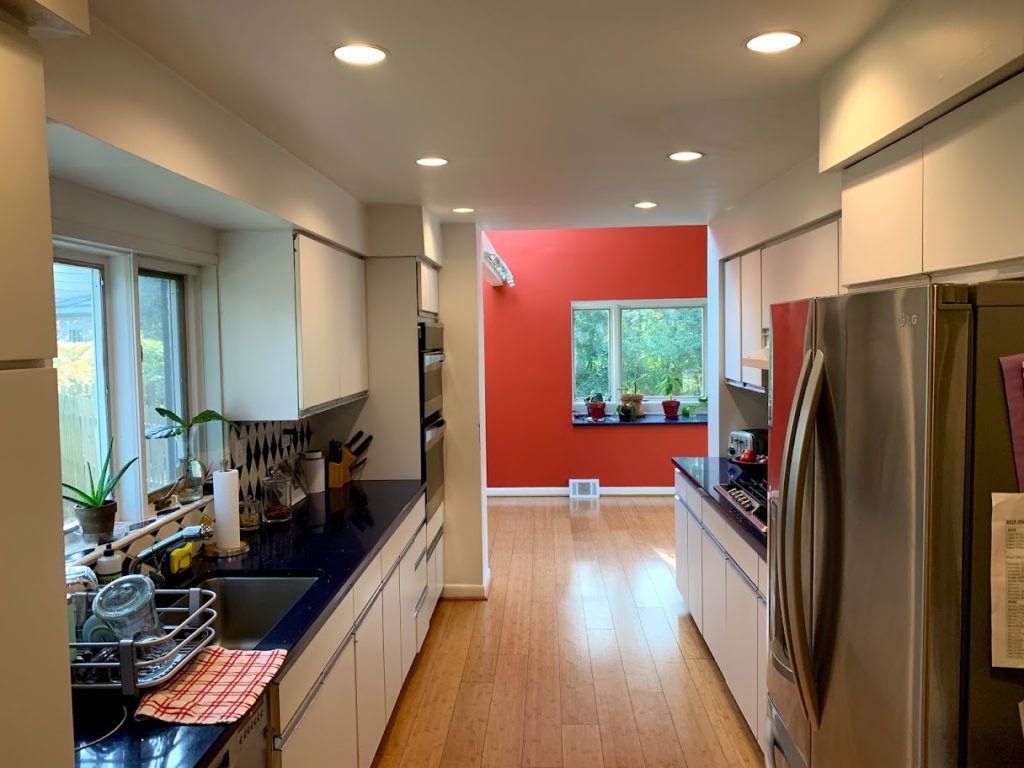
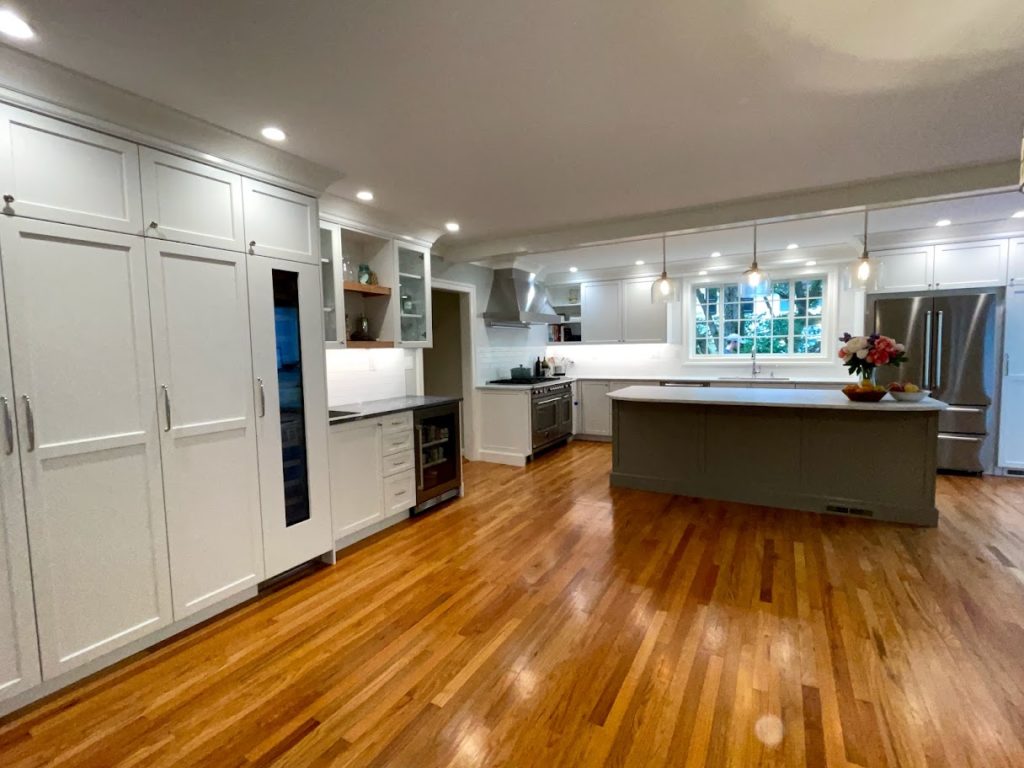
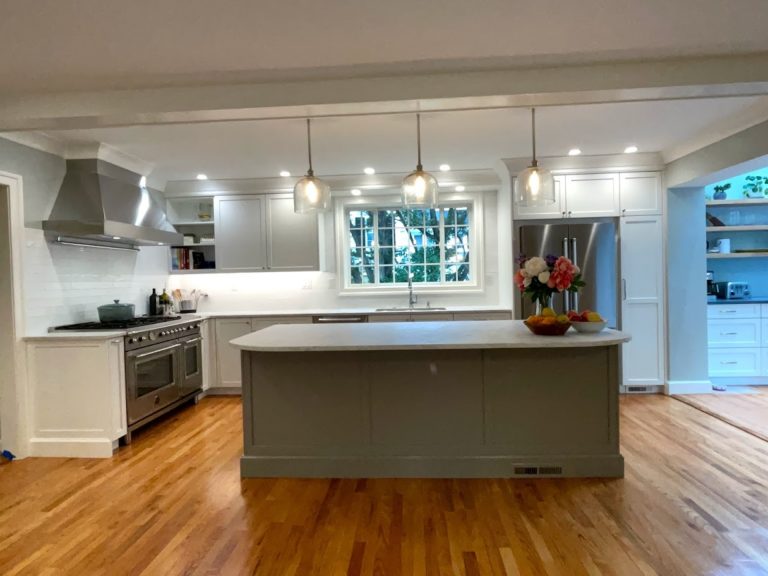
This kitchen renovation combined three spaces in the client’s home to unify the kitchen, dining, and breakfast room areas. The original setup of the galley kitchen did not function efficiently and the client wanted to update the kitchen’s design to a classic style that will aesthetically stand the test of time. The newly renovated kitchen functions better for the family with more seating, meal preparation areas, and storage. It is also the perfect spot to host gatherings that often end up in the kitchen.
Project Cost: $140,000 – $180,000
Design Details:
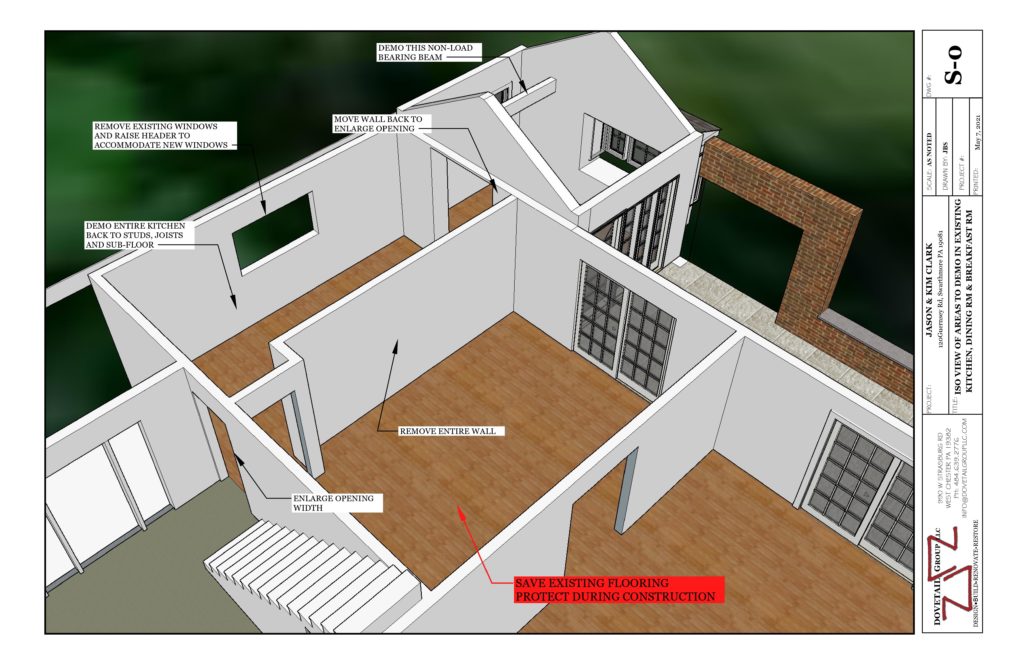
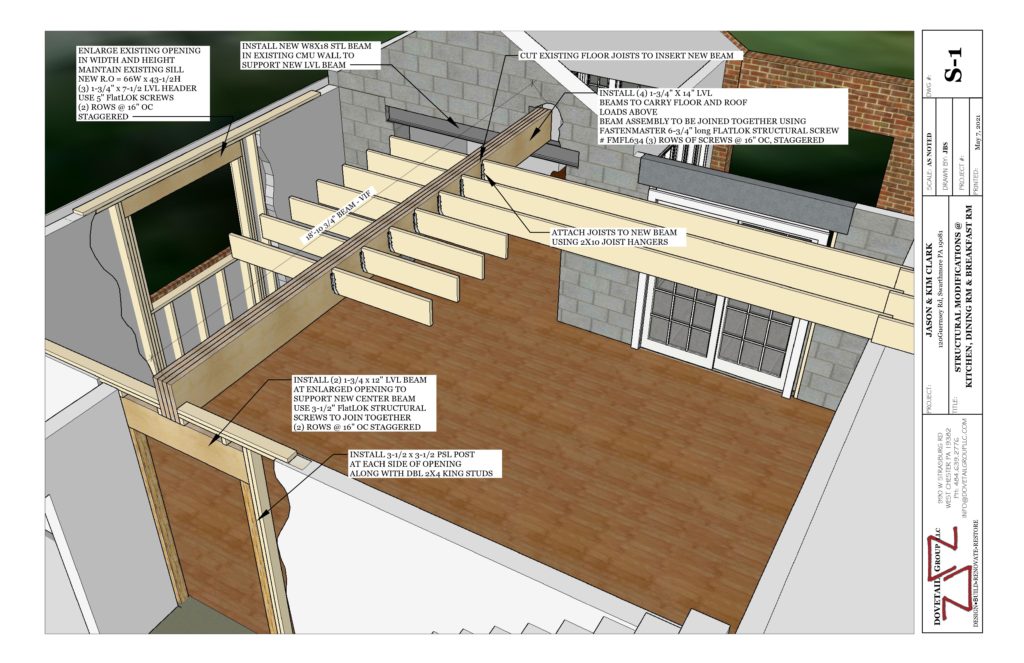
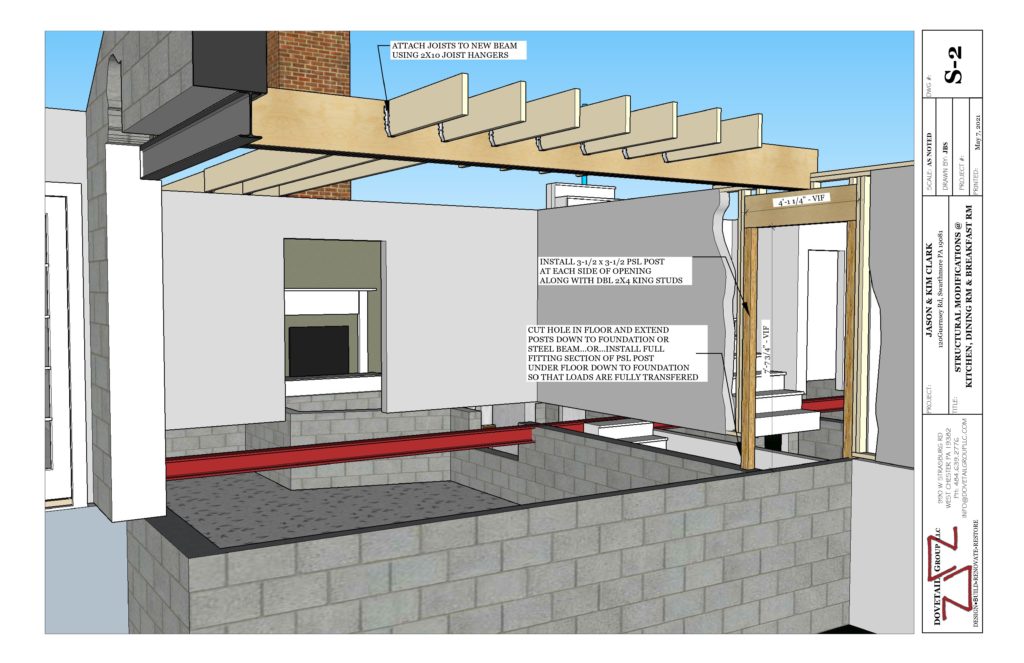
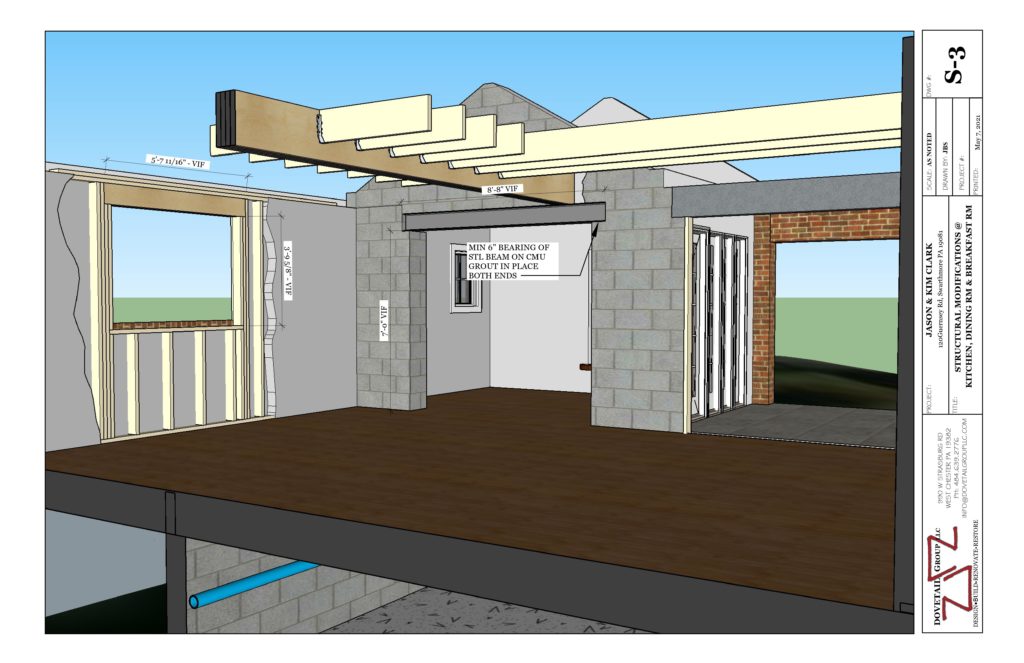
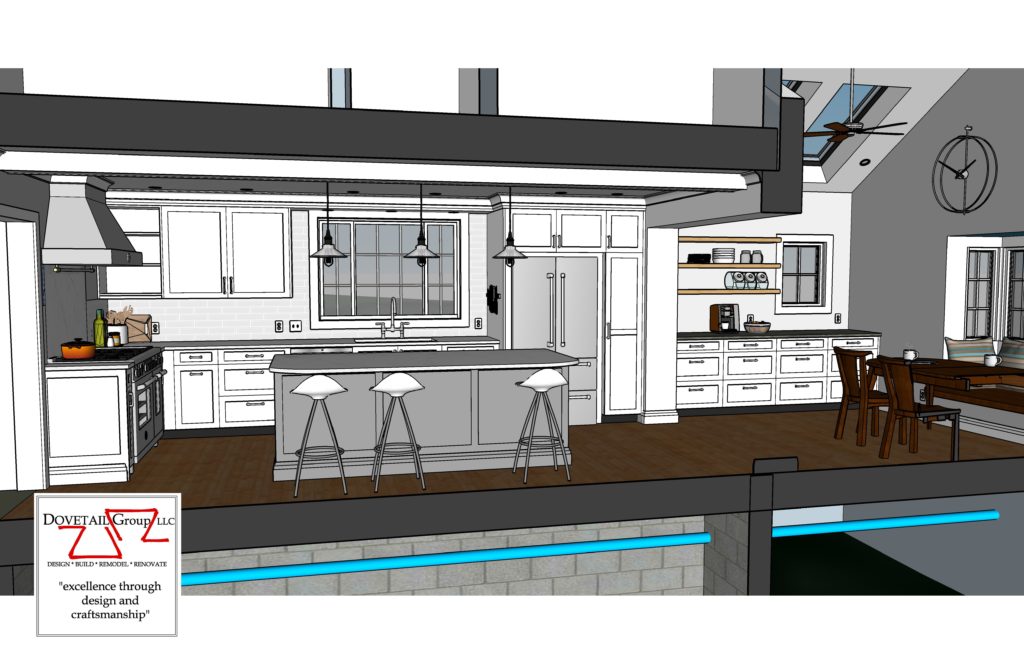
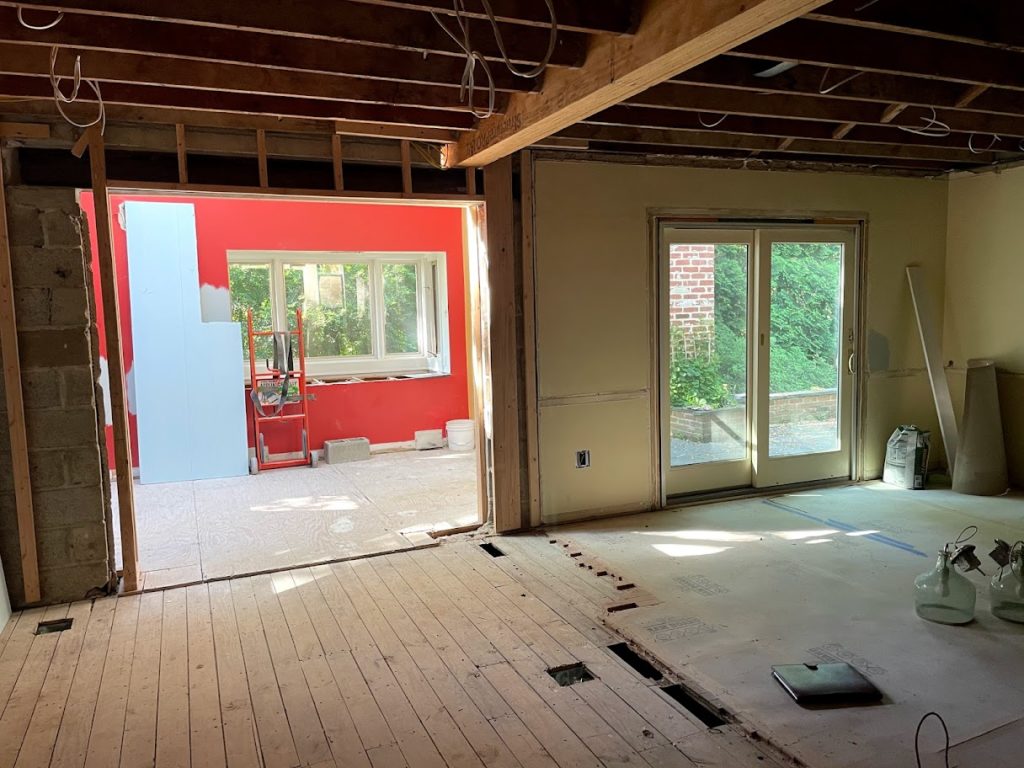
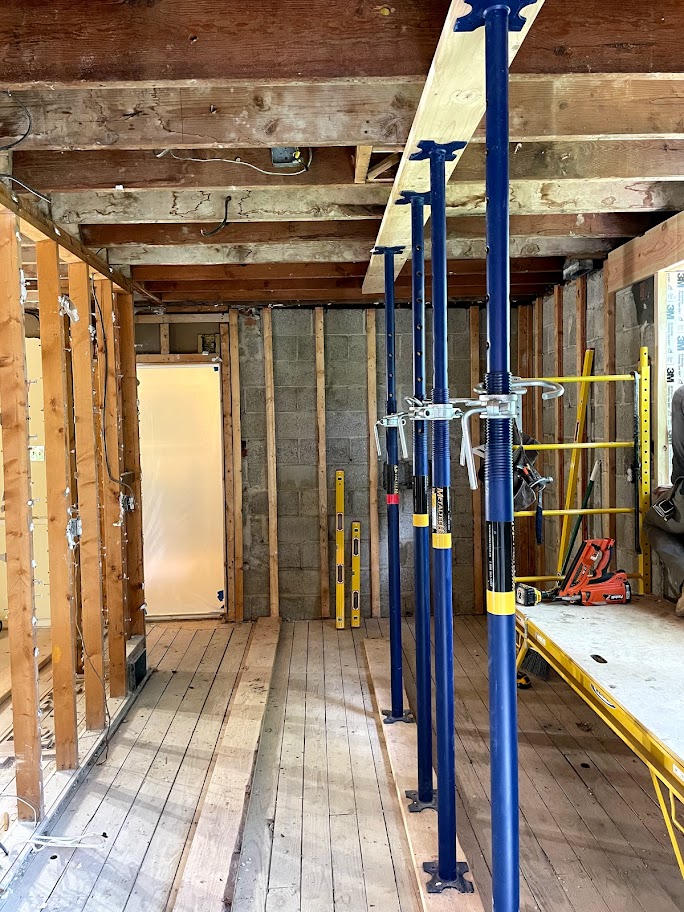
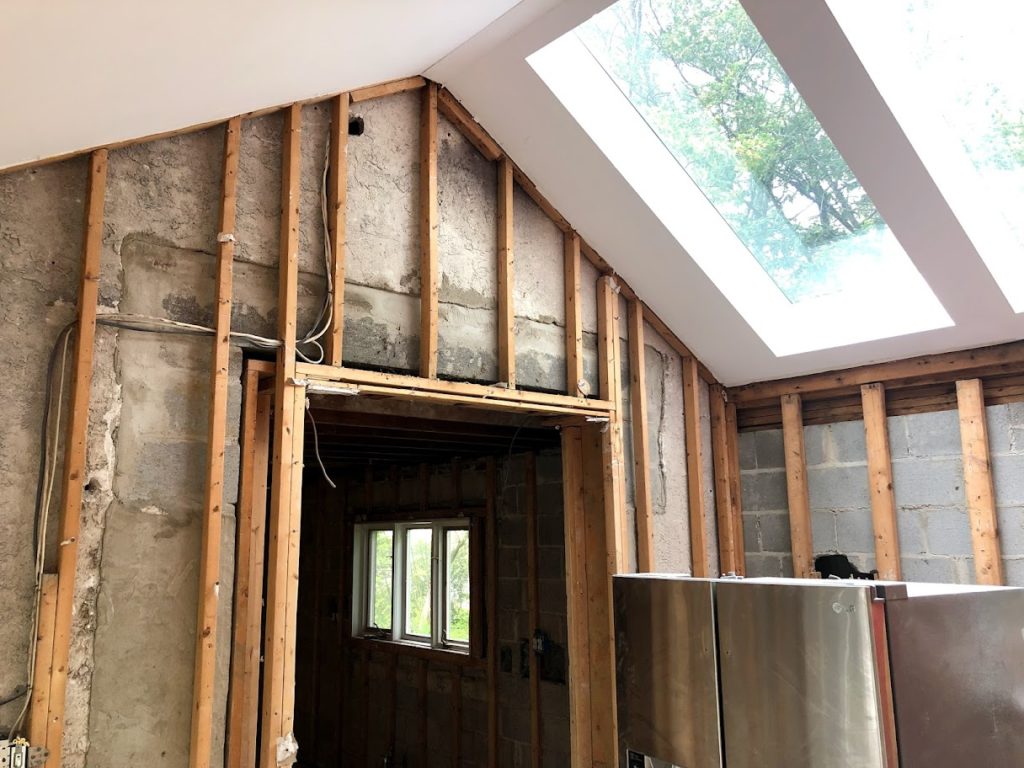
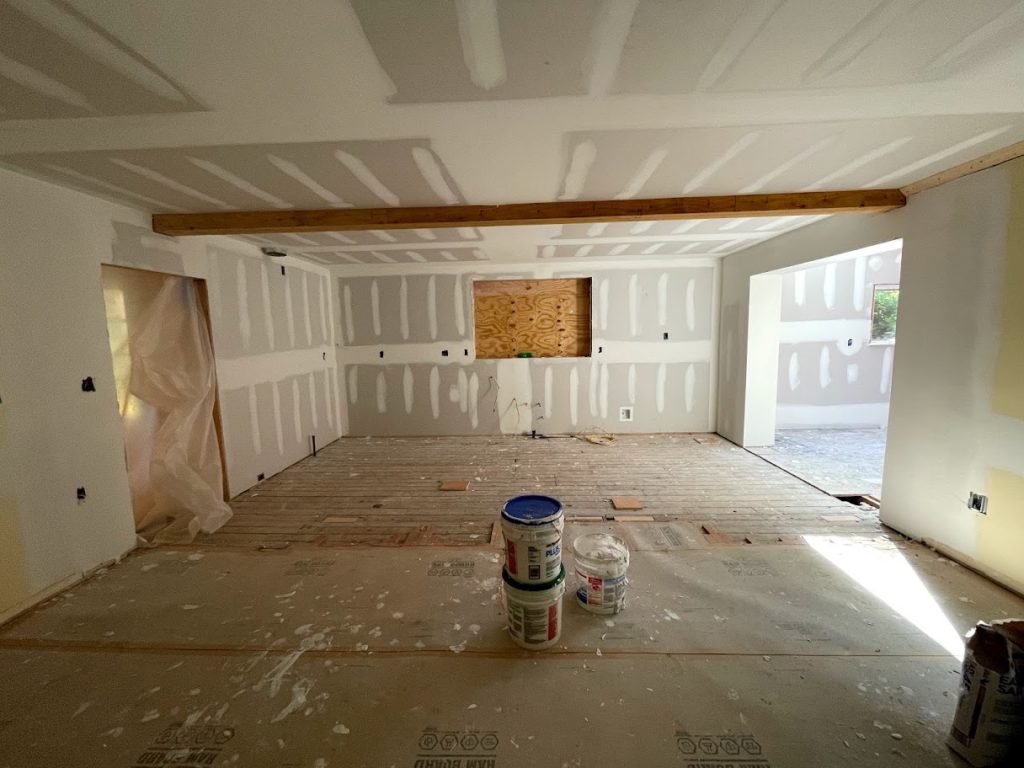
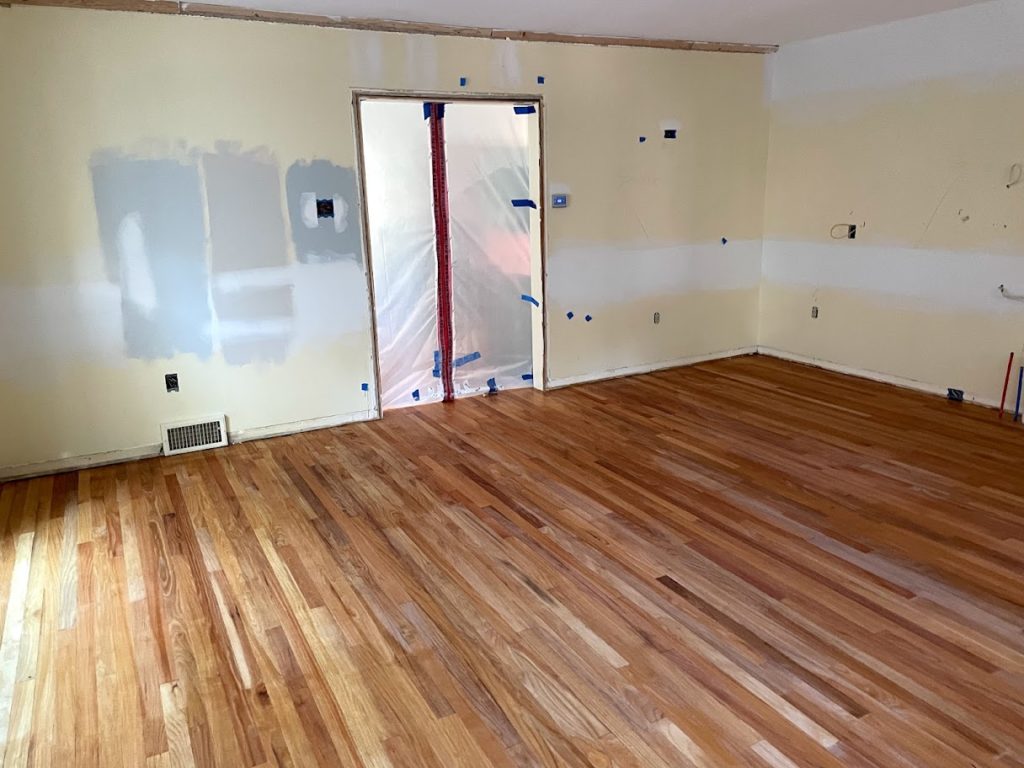
- Demoed kitchen back to the studs. Removed the wall that the stove and refrigerator were on that separated the kitchen and dining room to open up the area and create a large connected space.
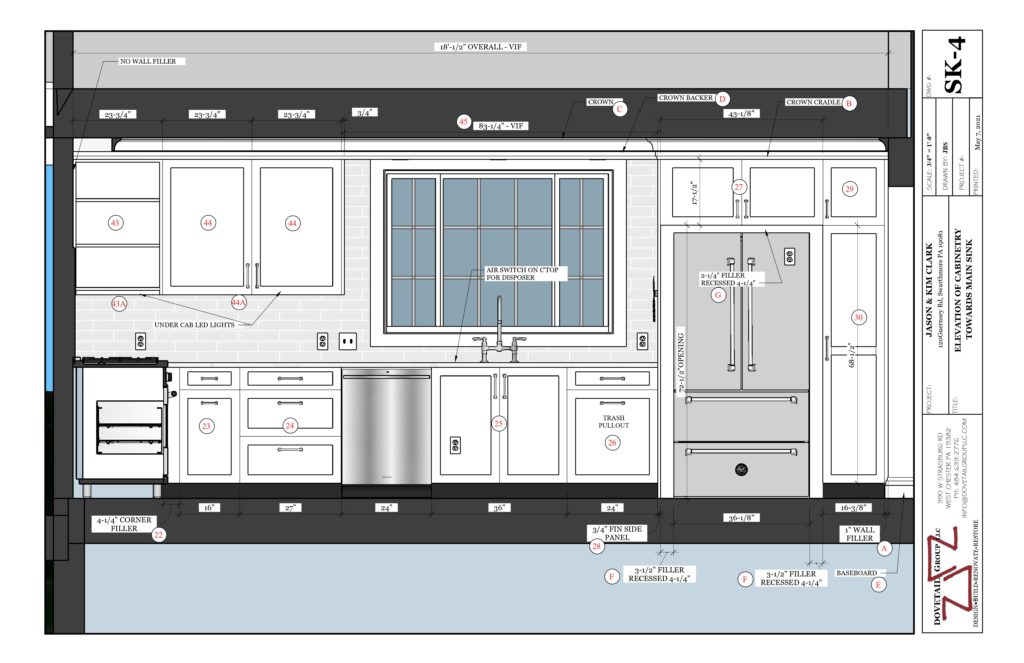
- Enlarged window over the sink in the kitchen to make it bigger and more open to take advantage of views to the yard.
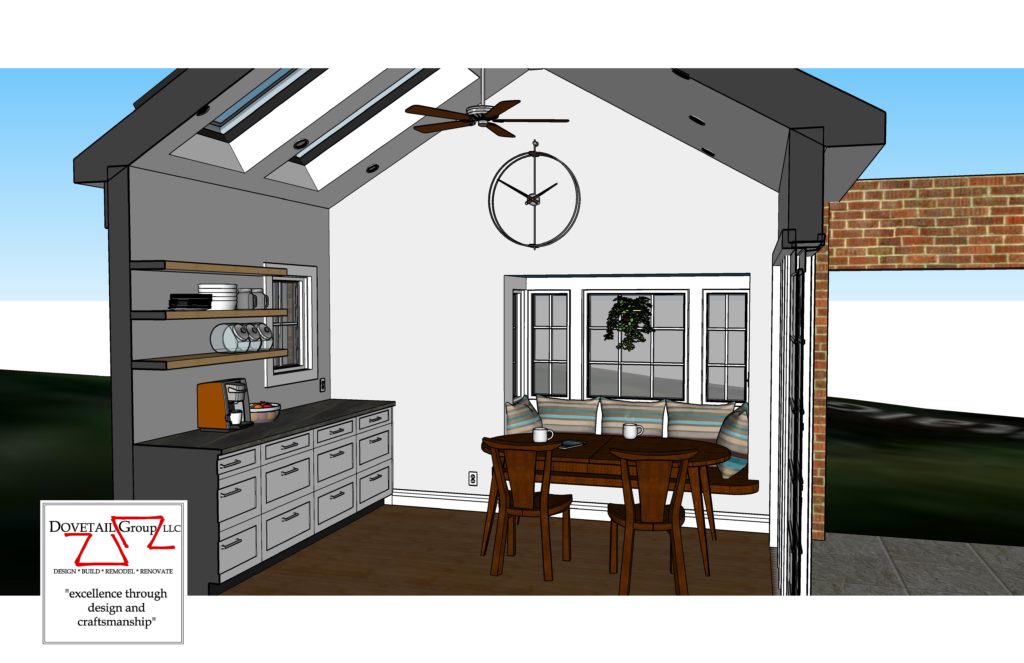
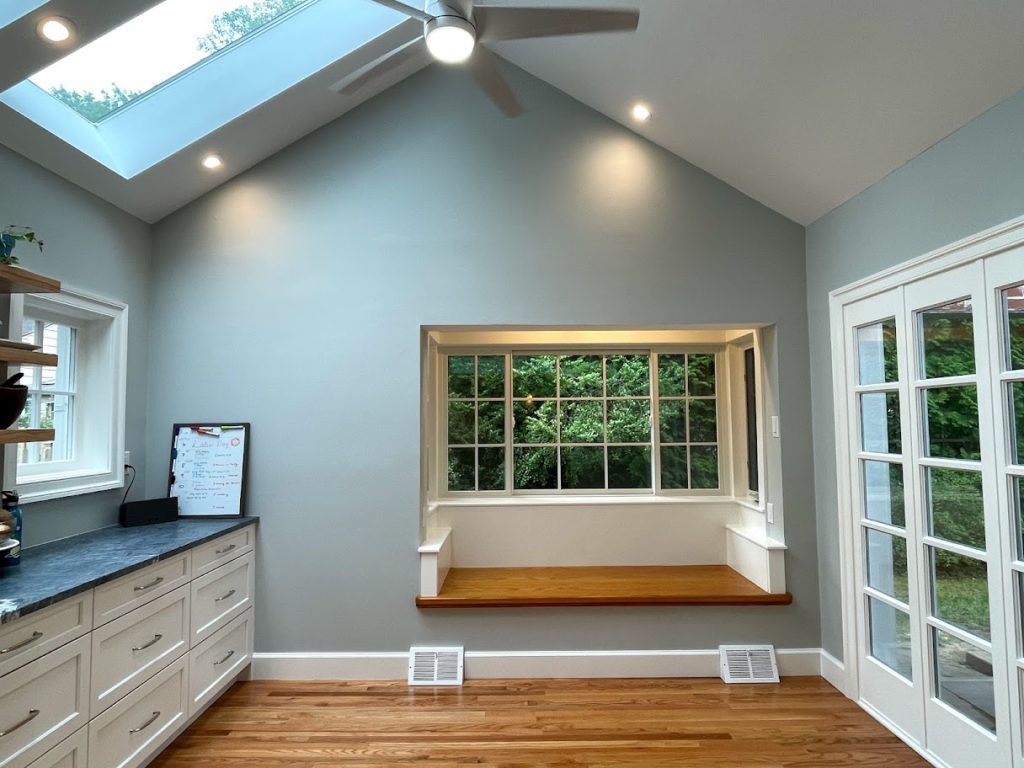
- Created a breakfast room in the back area of the kitchen.
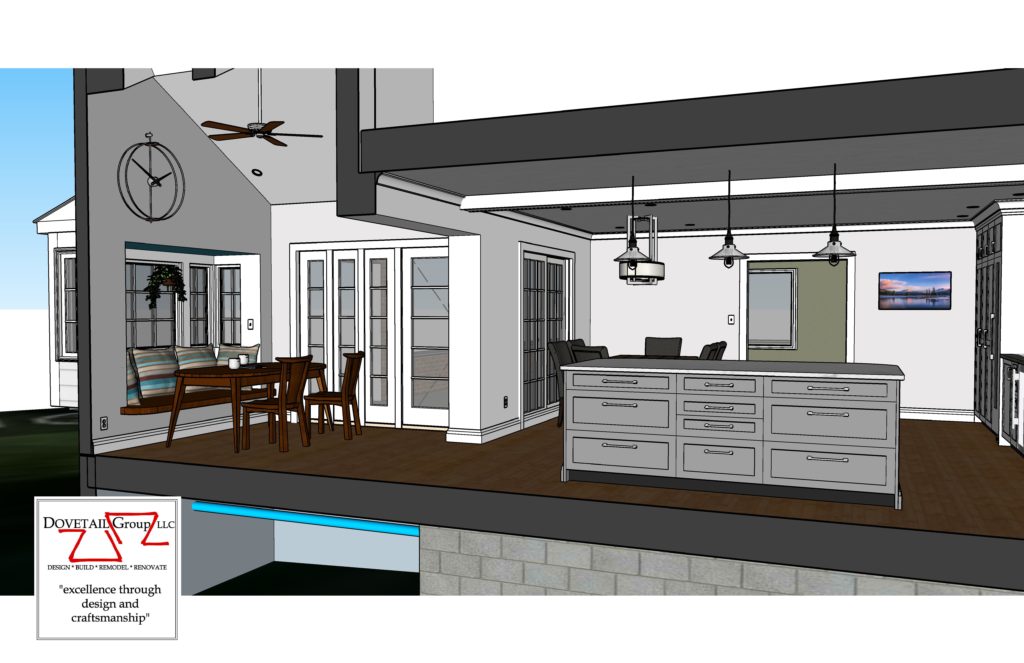
- Enlarged opening to the breakfast room so it was more inviting and attached to the kitchen work zone area.
- Modified the bay window in the new breakfast area and built a custom oak bench seat.
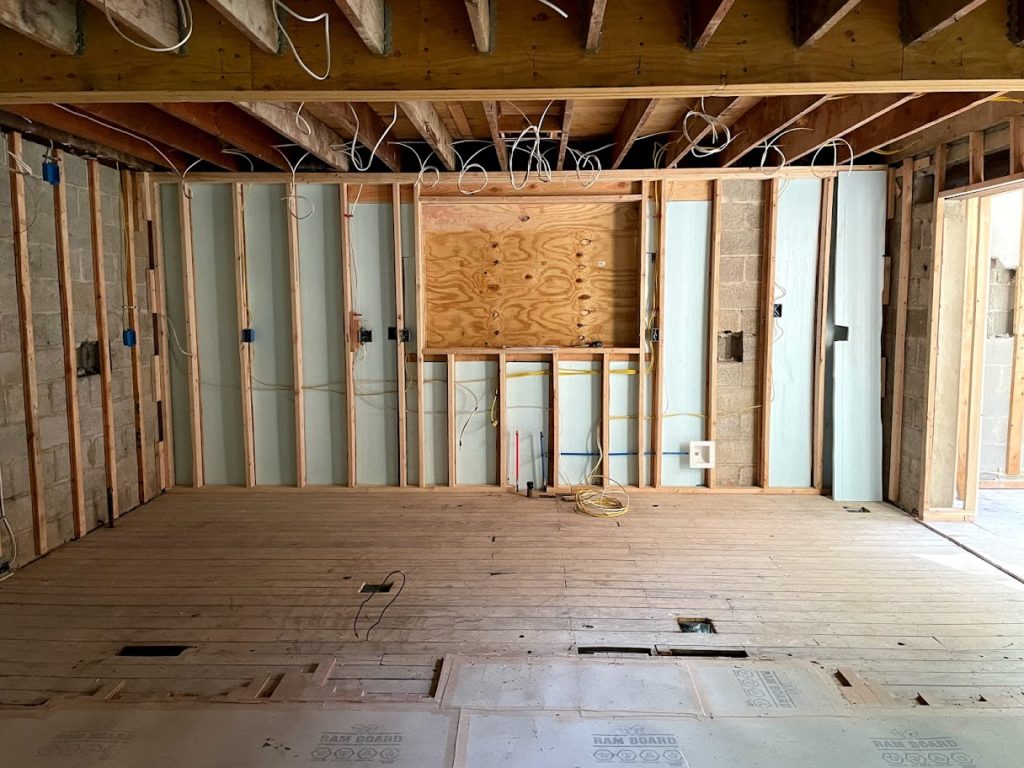
- Added insulation to walls that were not insulated to help with energy efficiency and the comfort level of the room.
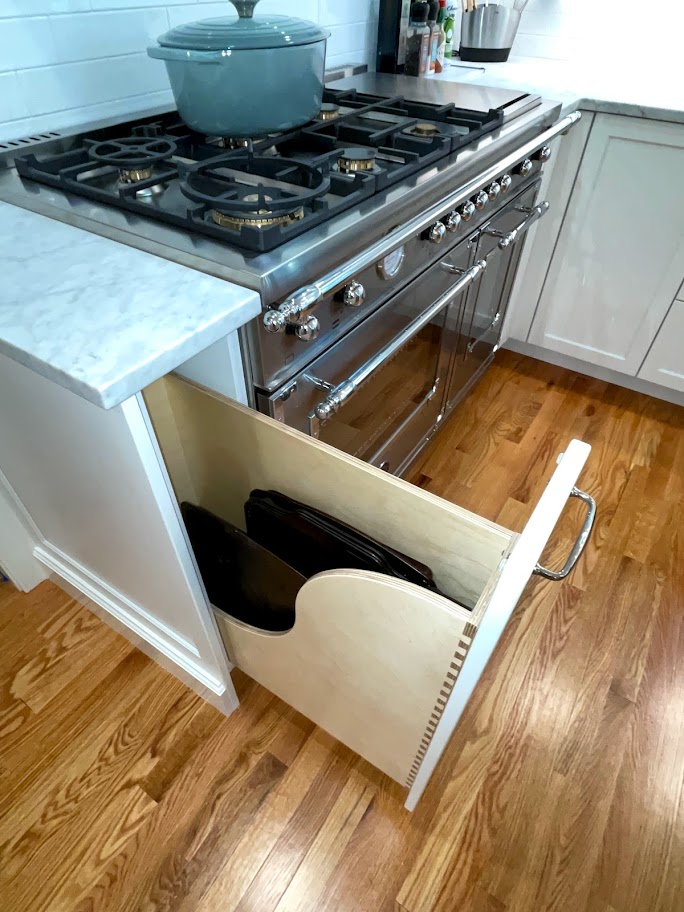
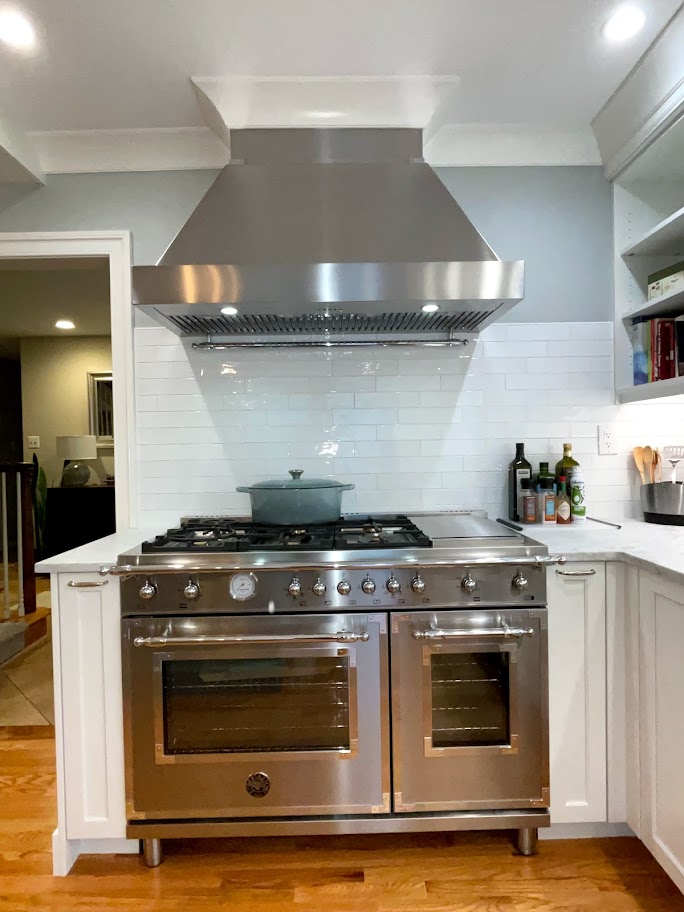
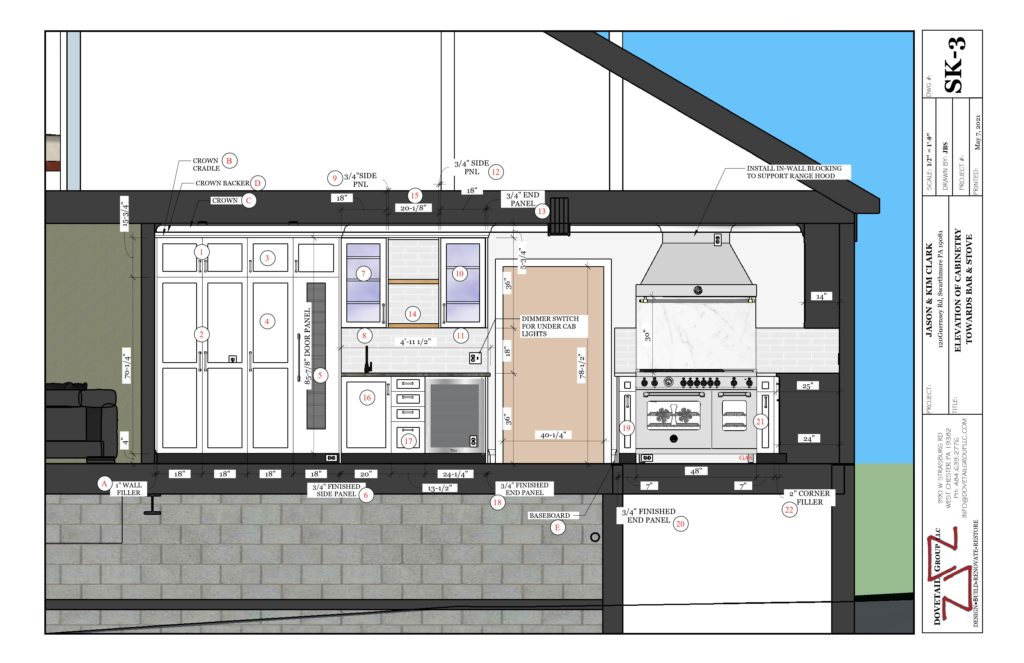
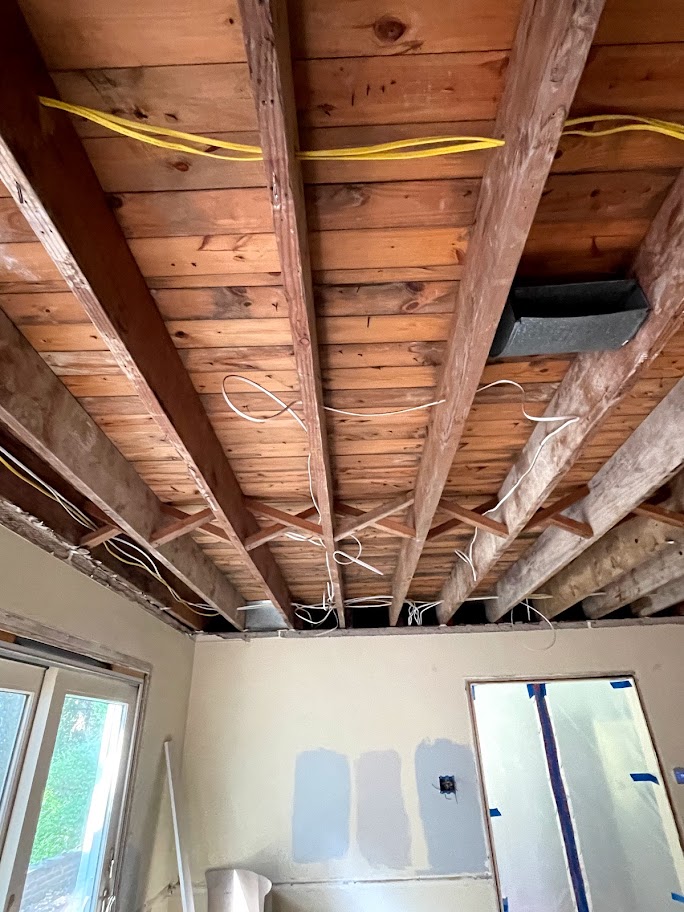
- Installed new duct work for stove hood and Bertazzoni appliances.
- Worked with electrician to replace existing wiring as needed.
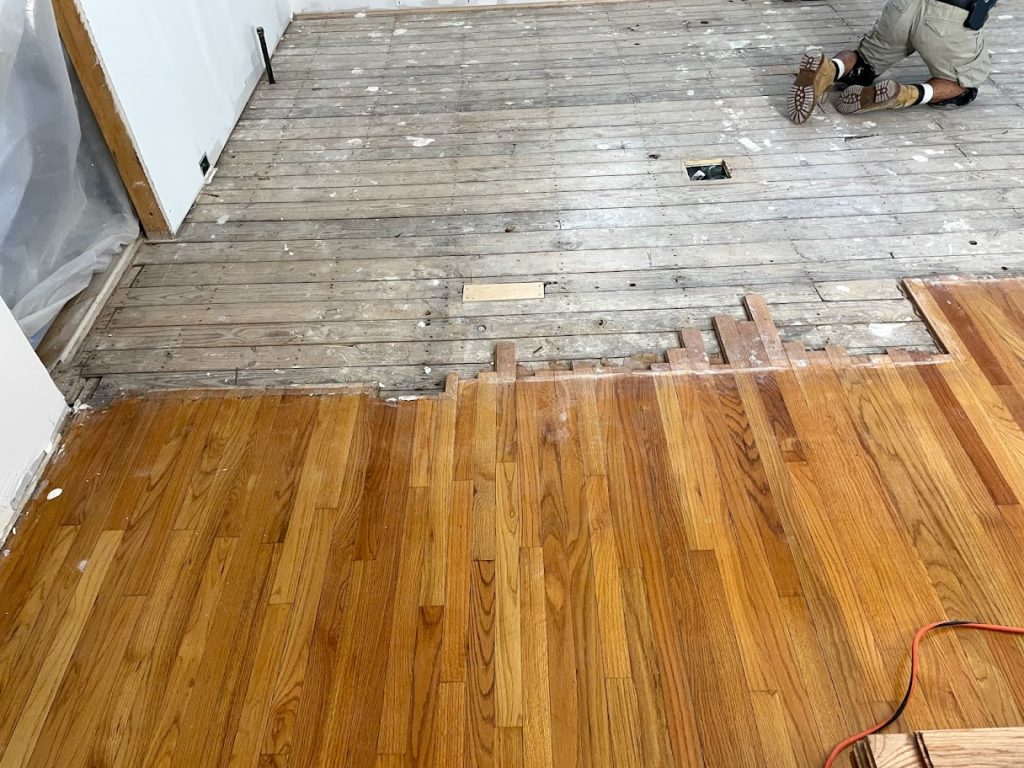
- Installed new flooring in kitchen and breakfast room. Matched new flooring to existing flooring in the dining room.
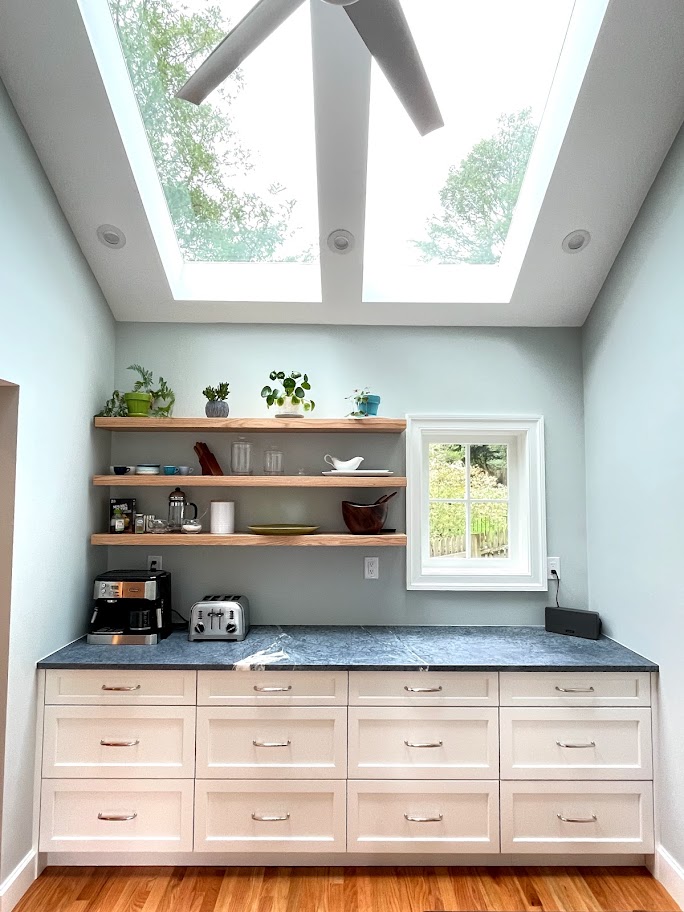
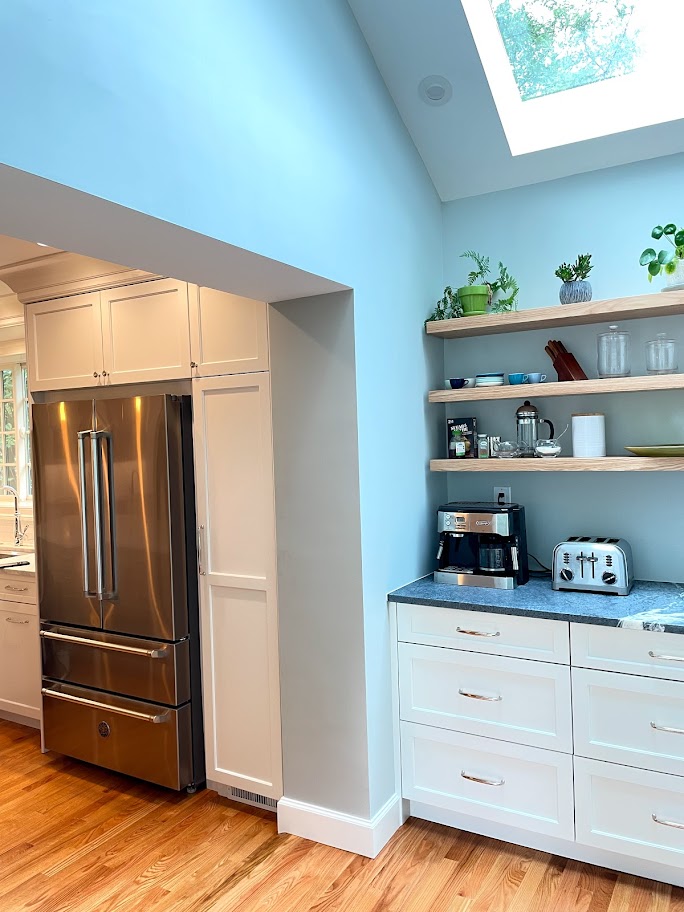
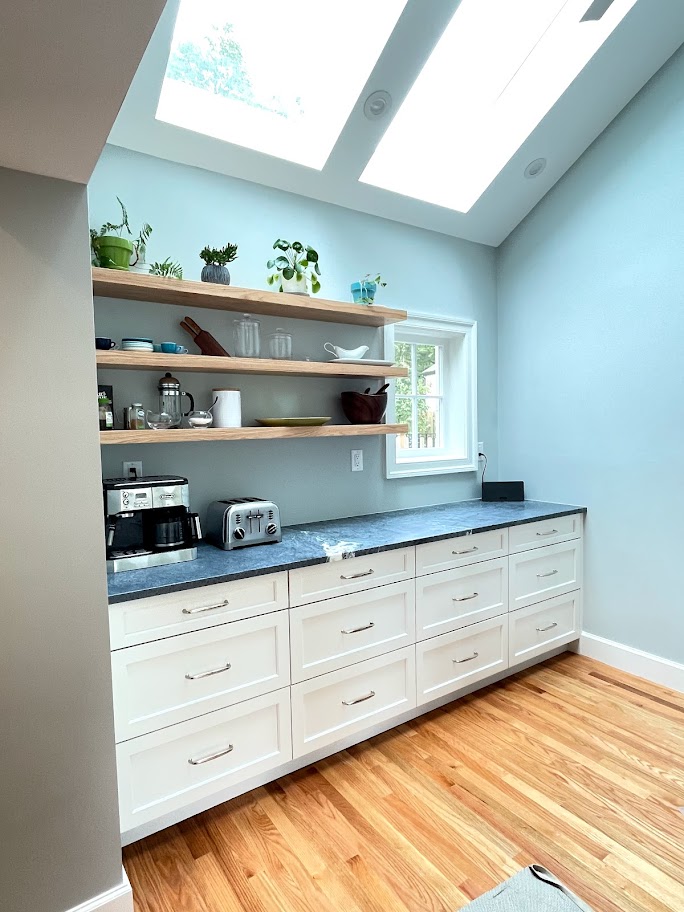
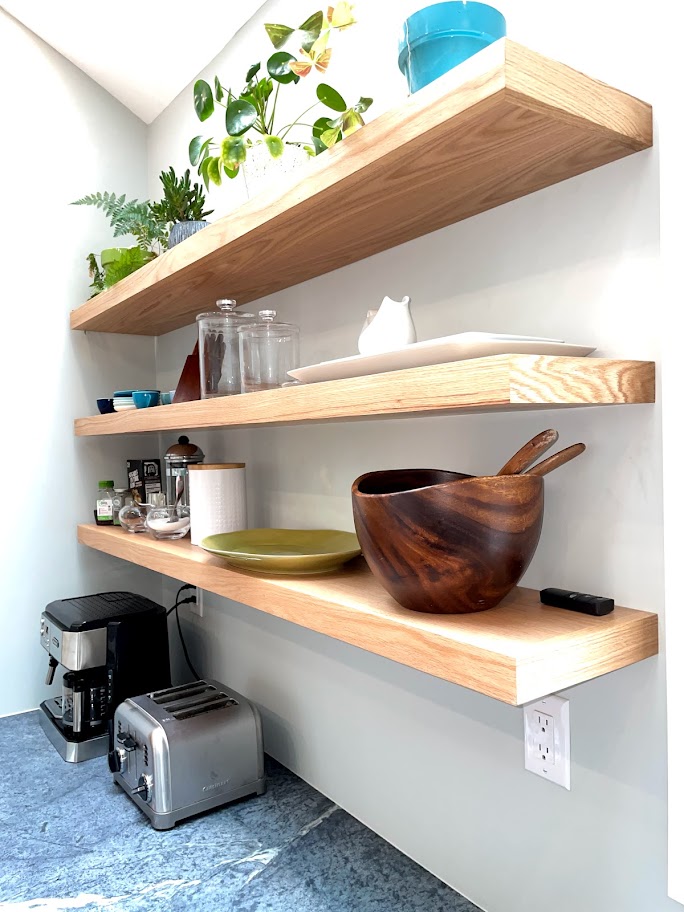
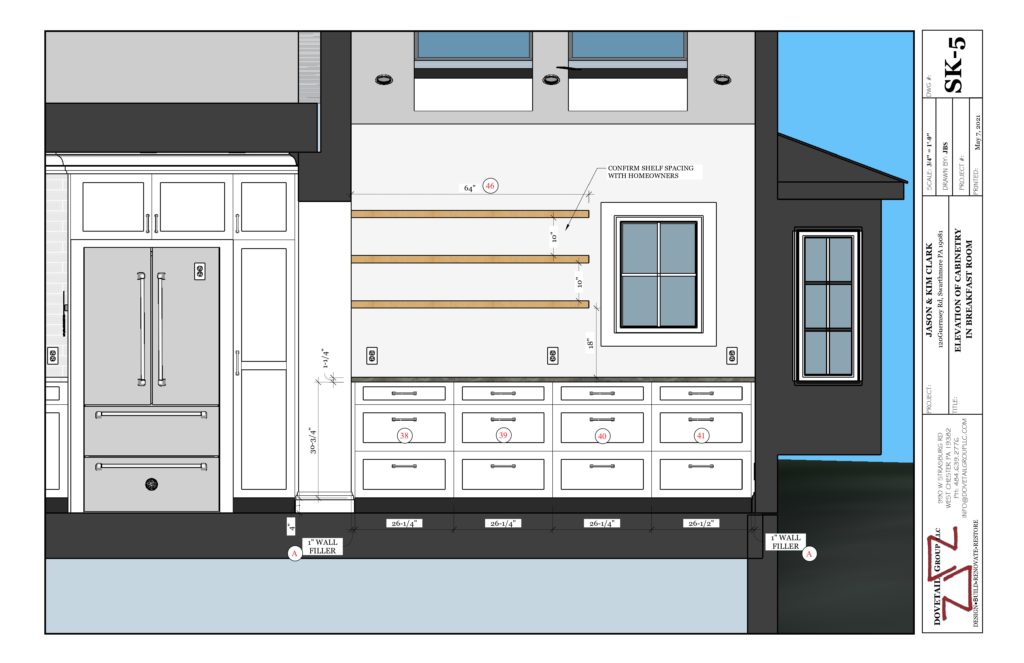
- Built oak floating wall shelves for the breakfast room.
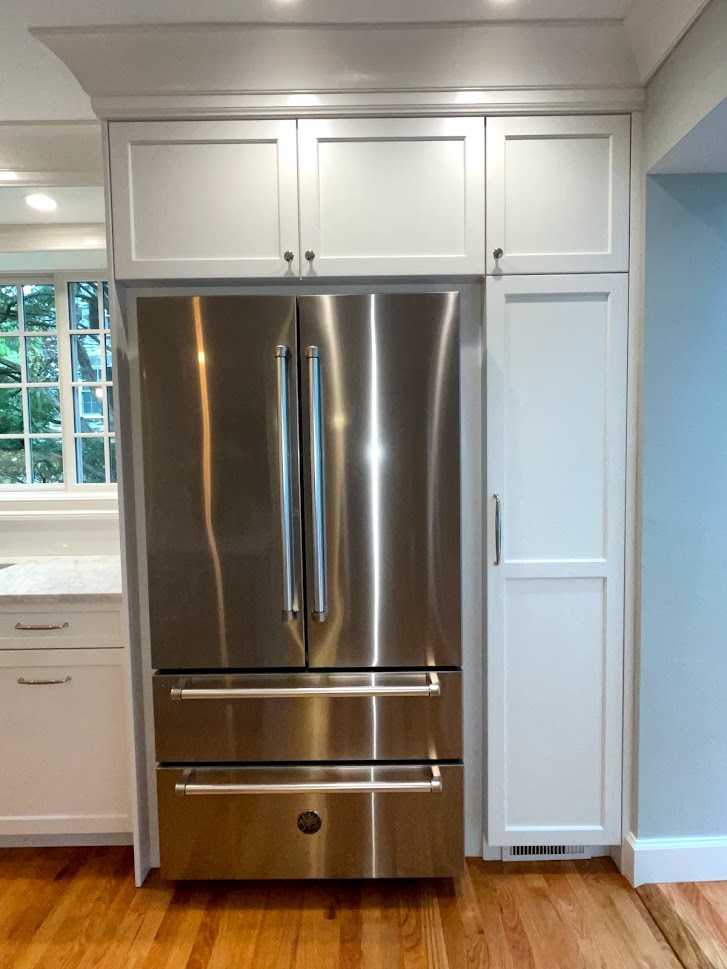
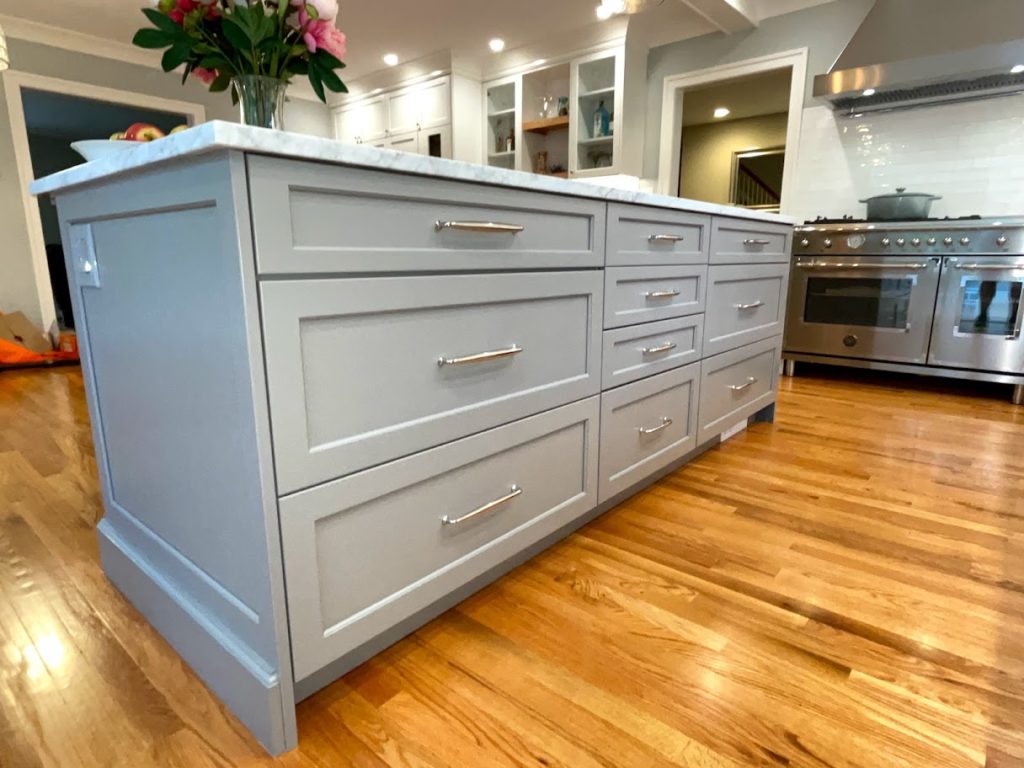
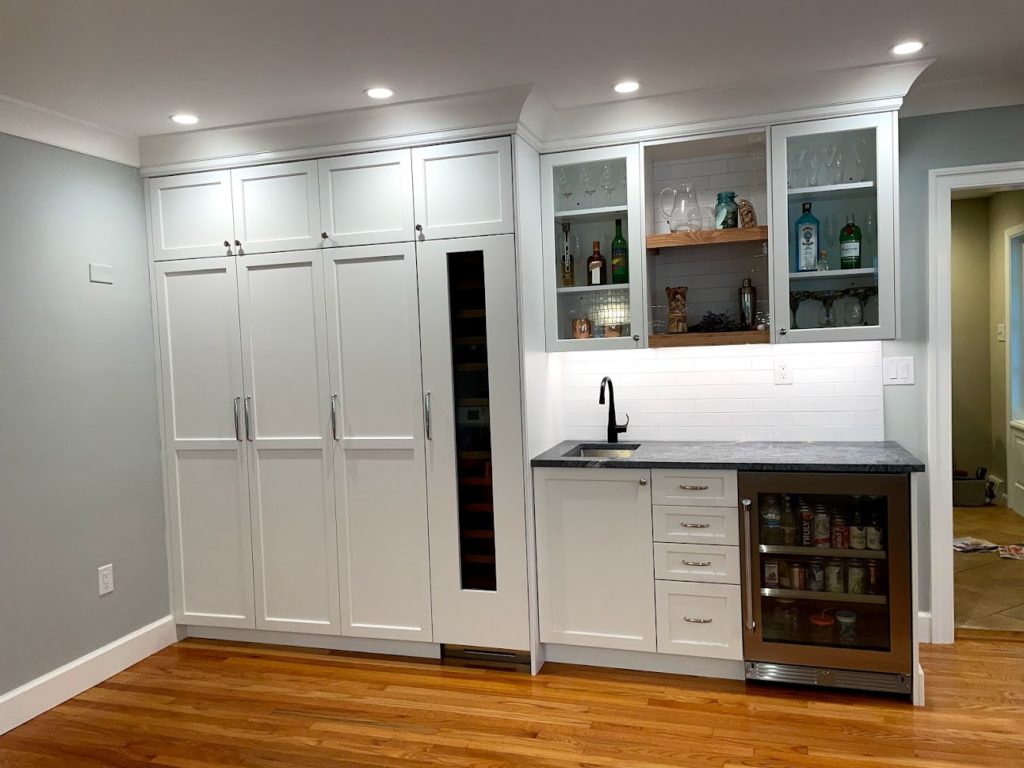
- Installed cabinetry, hardware, tile backsplash, and lighting. Lighting included pendants above the island, chandelier, and undercabinet lighting.
- Used white Carerra marble for island countertops and soapstone for the breakfast room and bar counters.
- Added custom trim to the window in the breakfast room to match the other windows.
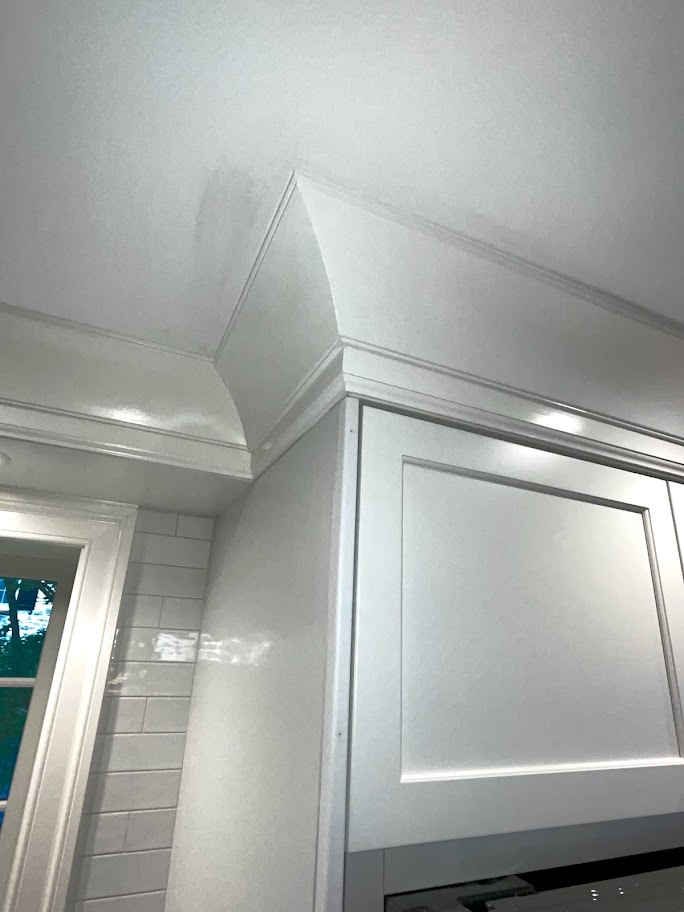
- Used crown molding around cabinetry and in the kitchen and dining room.
Photo Gallery:
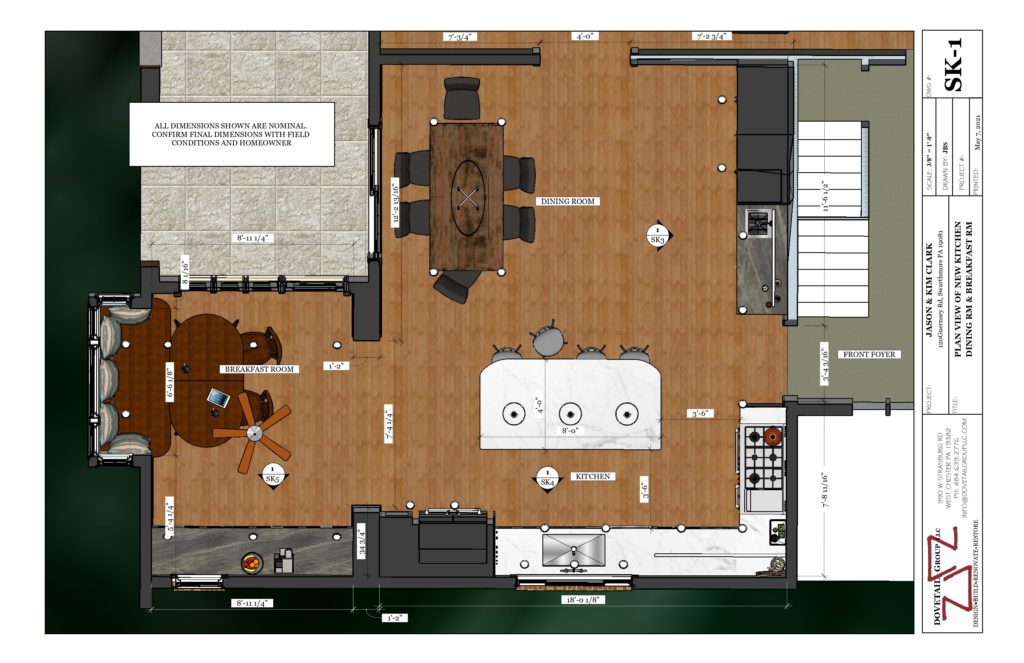
Design Drawings:
“What we design is what we build.”
Before & After Photos:
During Construction Photos:
Green/Science-based Solutions:
Various green and science-based materials and techniques were used in this project.
- Added insulation to walls that had not been insulated before.
- Installed LED lighting, Energy Star appliances, and Andersen energy-rated windows and sliding door.

